
Details is partnered with Stripe to process payments online - this is a great way to save time. Set up your preferred payment schedule, schedule your reminder emails, and let the system do the rest!
Setting up your account
To get started, go to the Financials page of the Company settings, where you'll find the option to connect with Stripe.
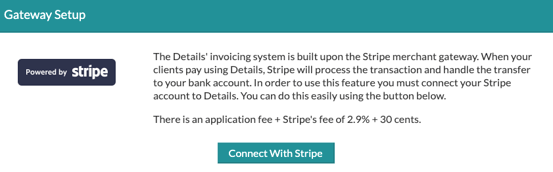
💡Please note that your application fee rate, as listed in the above image, will vary based on your Subscription Type. This fee is in addition to Stripe's fees of 2.9% + $.30 per transaction.
Growth - 1.5%
Business - 1.25%
Professional. -1.1%
Enterprise - 1.0%
🌐 Legacy Details Accounts are subject to alternate rates. Reach out to our team for information on your specific legacy account
Click on it to get started, and then you'll be taken to Stripe and prompted to set up your account. You should see this at the top of the page:
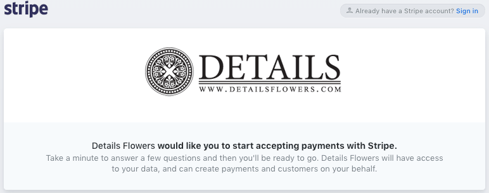
If you already have a Stripe account, click the 'Sign in' link in the top-right corner. Once you've connected your existing account or registered a new one, you can start invoicing your clients and collecting payments!
Setting up your invoices
Follow these steps to set up your payment schedule:
- Within an event, navigate to the 'Payments' page under 'Financials'.
- Your default payment schedule will be displayed here, and you can make changes if necessary.
- Click 'Save' to complete
Once your schedule is set, go to the 'Invoicing' page under 'Financials' to customize it. Remember that you need an email address saved to the client's profile to set up the invoicing auto-send feature.
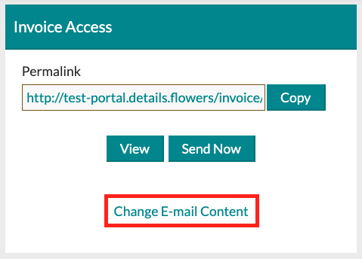
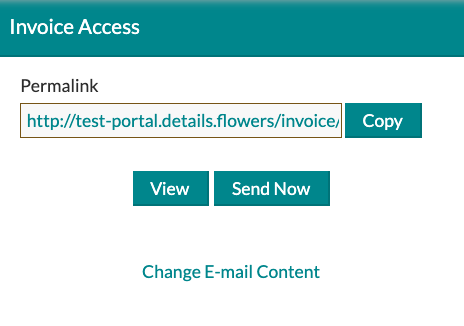
If you need to change your 'Invoice Ready' or 'Thank You' emails for a specific event, you can do so by clicking the 'Change Email Content' link in the 'Invoice Access' box.
Once your payments have been confirmed, you can set up your automated email send schedule! You will find an 'Autosending' area on your event's 'Invoicing' page. Here, you can choose a send schedule for each of your required payments, so you won't need to remember to send the invoice each time a payment is due!
If your first payment is due 'Now,' I recommend clicking the 'Send Now' button for the first payment.
Within your schedule, you can choose how many days before the payment due date you want to send the Invoice Ready Email. You can also set reminders after the due date has passed, which will only be sent if they have not made the payment by that time.
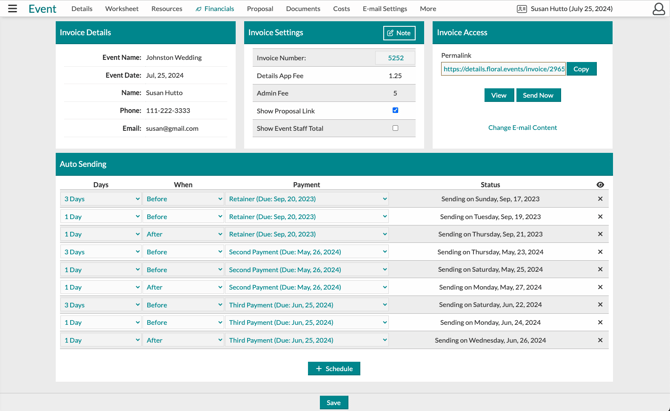
Make sure to verify your invoice settings before sending the invoice to your customer.
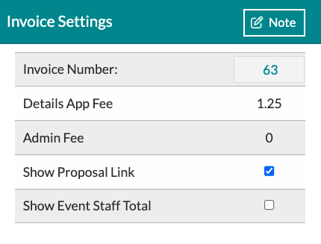
💡 In this section, you will also be able to change your 'Invoice Note,' which is a note that will live directly on the Invoice. To do so, click the 'Note' button in the top right-hand corner of the 'Invoice Settings' section.
Preview the invoice or copy the link to send to a client yourself. If you have a Subdomain added to your account, you will also see your custom URL listed here! If you do not have a subdomain added to your account, it will look like the image below.
- Learn more about customizing your invoicing emails in the Email Settings article.
- Learn more about tracking your email interactions in the Email Lists article.
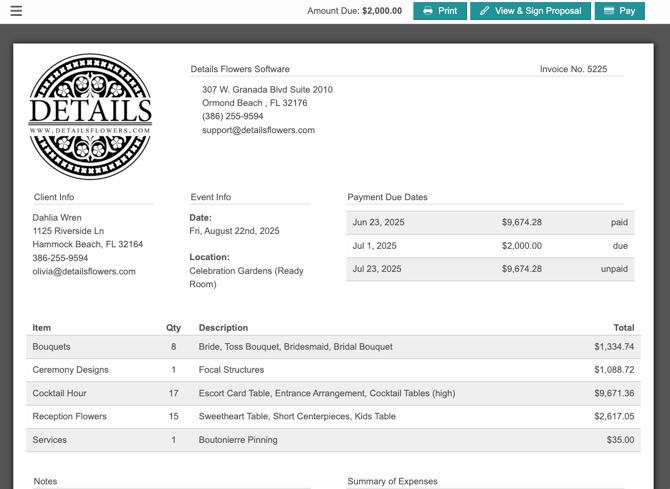
Clients can click the 'Pay' option at the top of the Invoice to make a payment for their event. They can choose to pay
- An individual payment
- Multiple payments at once
- A custom amount (if you have this enabled in your Client Portal Settings)
If you enabled tipping, your client will also see an 'Add Tip?' option when checking out. Here, they will be able to leave their desired tip amount in addition to their payment.
-1.gif?width=670&height=487&name=ezgif.com-animated-gif-maker%20(2)-1.gif)
💡 Learn more about Tipping by clicking here!