
Note: This is not retroactive and will only apply to events you created after implementing this Zap. For this Zap to work, you must also have your QuickBooks invoices created with this Zap: Create a new invoice in Quickbooks.
Trigger
- First, click the Make a Zap button.
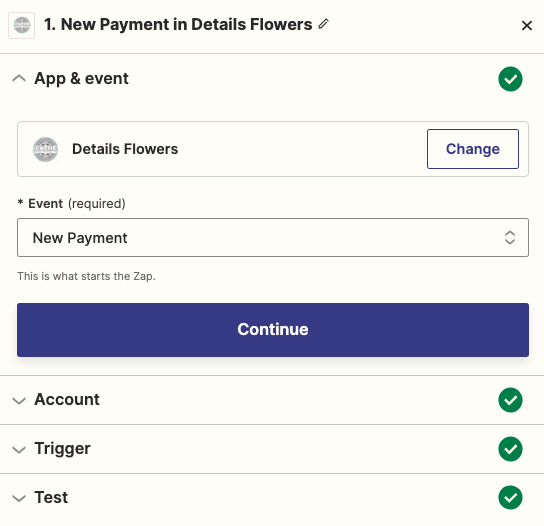
- In the search bar, type in Details Flowers and select it as your Trigger app.
- Click New Payment and then Save + Continue.
- Click Continue to use your connected Details Flowers account. If not yet connected, click the Connect an Account button and first, complete this zap.
- On the Edit Options, leave this section blank
Testing
- For this particular Zap, you must test with a payment logged in Details Flowers that already has a Zap-created invoice. If you've not yet set up that Zap, click here to learn how.
- Once you've selected your sample, click Continue.
Adding a Search Step
For Details Flowers to add the payment to QuickBooks, it will need to find the invoice. To do this, we need to add the Action Step.
- Select QuickBooks Online as the Action App.
- To find our action, look under the Search section. Click Find Invoice.
- Click Save + Continue
- On the next page, you'll be asked to confirm the connected account. If you've not yet connected your account, click the Connect an Account button.
- Click Save + Continue.
- In the Invoice Number section, type in Details- and then locate Event ID - this serves are the invoice number created by the Create an Invoice Zap.

Action
- Finally, you will need to log the payment. Click to add another Action Step.
- Once again, select QuickBooks as your Action App. Click Continue.
- From the available options, click Create Payment.
- By now, you should have already connected your QuickBooks account. Click Continue.
- Under the Customer section, select Use a Custom Value.
- Next, select Customer Ref Value for the Custom Value for Customer ID
- For the Total Amount section, find and select the payment amount.

- Scroll down to the Line Items area.
- Select Amount (the logged payment amount).
- Under Line Linked Invoice, select Use Custom Value.
- Finally, under Custom Value for Line Linked Invoice ID, select ID from the QuickBooks selections.

- Once everything is filled in, click Continue. A test will be completed, and then you can click Finish.
Check out this template to get started with this Zap!