Details Invoicing: Proposal Access from Invoice
If you're using Details invoicing, your client can view and sign the proposal and then be directed to complete the first payment.
Here's what you need to have selected for your client to sign and then pay:
- Make sure you Saved and Published your proposal.
- On the Invoicing page, click the checkbox for 'Show Proposal Link' located in the 'Invoice Settings' area in the center of the page.
- Before you send it off, click 'View' to review the invoice.
- Since this is the first payment, click the 'Send Now' button to send the invoice to your client. Check out this article to learn about 'Auto-Send' for future payments: How do I invoice my client?
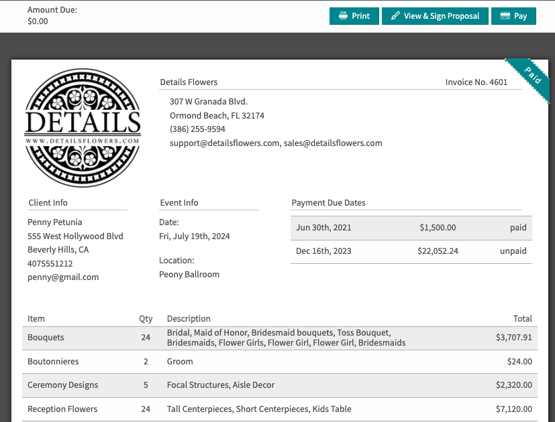
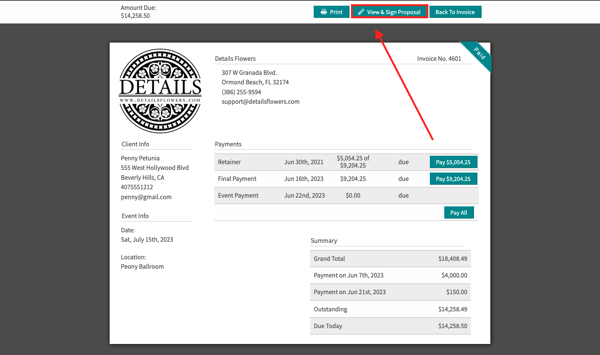
When your client clicks the link, this is what they will view:

- Instruct your client to click the 'View & Sign Proposal' button to first sign the proposal.
- Once complete, the page will redirect to the payment portion of the invoice.
- Once paid, the payment will automatically be logged in Details, and your client will move to the 'Plan' portion of the pipeline.

Client Portal
If you are using the client portal, you can add the 'View Invoice' option to your navigation allowing your client to navigate to the Invoice from within their portal. In the 'Portal Settings' area within your event or in your Defaults (located in the Main Menu under 'Client Portal'), is where you can add this option. Check out the image below:

Once this option has been added, your client can click on their navigation in the top left-hand corner of the portal to access the invoice.
-1.gif?width=604&height=337&name=ezgif.com-animated-gif-maker%20(3)-1.gif)
