
In the article below, you will learn:
- How to change your currency type.
- Add a convenience fee percentage.
- How to set up your default payment schedule.
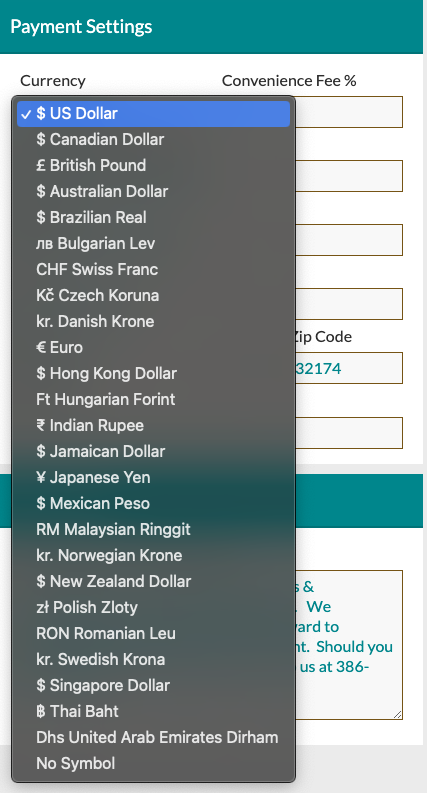
Change your currency type:
- From the currency menu, click the drop-down and select your currency. Currently, we have over 25 different currency options available for you to choose from.
Add in your convenience fee:
- Many Details customers pass credit card processing fees along to the client. To charge a convenience fee to a singular payment, enter your ideal convenience fee in the space provided. Please check with your accountant to see if convenience fees are legal in your state.
- This is not automatic! It must be activated. Once the credit card box is clicked on the specific event Payment page, it will add the percentage to the outstanding balance.
Easily charge a convenience fee to the event total by placing it in the 'Admin Fee' box on the worksheet (easiest). Check out this article to learn more: How do I add a convenience fee to the event total? (Admin Fee)
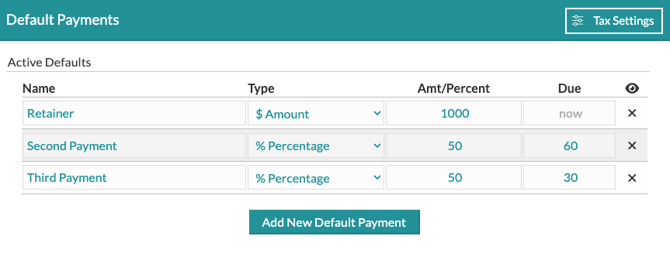
Set up your default payment schedule:
- Adjust the default schedule Details provides by clicking 'Add New Default Payment' to add additional payment rows or clicking 'X' to remove any rows you don’t wish to use.
- Adjust the rows to reflect how you would like to collect your payments. If using a flat dollar amount, select '$' under 'Type'
- If using a percentage, select “%” under 'Type.'
- Type in the percentage or dollar amount.
- Make sure that your percentages total 100% (See photos below)
- Under the 'Due' column, type in the number of days before the event that the payment is due. If left blank, the payment is due now.
- All percentages must equal 100%
Set up Your Tax Settings:
Located in the top right-hand corner of the 'Default Payments' section, you will find the 'Tax Settings' button. Here, you can choose how you would like your tax allocated for your account.

By default, taxes are allocated proportionally, dividing evenly across your payments based on their amounts. If you prefer, you can change this to collect all tax first or last. Additionally, you can set specific tax preferences for each category: Product, Service, and Labor
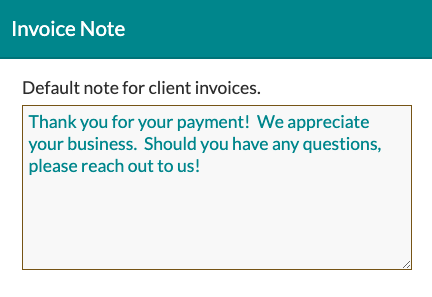
Set Your Default Invoice Note
In the 'Invoice Note' section in the bottom left-hand corner, you can adjust the note that appears on your invoice. If you have something else you want to include specifically for certain clients, you can also adjust this on a per-event basis.
 Connect With Stripe
In the upper right-hand corner, you will also see an option to connect with Stripe if you are not already connected. This will allow you to utilize the Details Invoicing features, allowing your clients to process payments directly through the site.

Once you are connected, you can access direct links to your Stripe account and invoice email settings in this area!
