
Note: All instructions listed below are only applicable if the client record for this event includes their email address!
Using the 'Send Now' feature:
- Go to the 'Financials' > 'Invoicing' page.
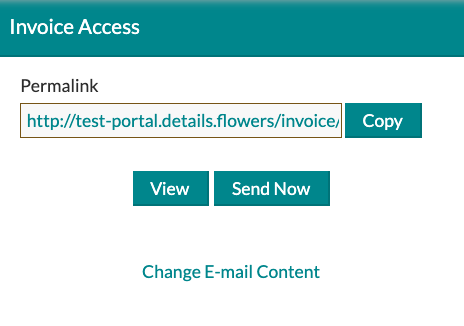
- Before you send the invoice, click 'View' to review the invoice.
- When you're ready, click 'Send Now' (If you have multiple contacts with Email Addresses on the Client Record for this event, a box will appear allowing you to choose who you want the email sent to)
.png?width=471&height=233&name=Lato%20(1).png)
- Once complete, you will receive a notice at the top of the page stating the send was successful.
Likely times you will use 'Send Now': when sending the first invoice for a retainer/deposit payment, after you made adjustments to the worksheet and want the client to see the new invoice, or you need to get the invoice to your client before the next scheduled send.
Using Auto-Send:
Note: The emails sent using the Auto Send feature will be sent to your Main contact (the first contact listed in the Client Record) for this event.
Check out the schedule I have created for this event below, which includes emails letting them know of the upcoming payments, as well as reminder emails if they fail to make the payment by the due date:

Do you want to ensure the email was delivered to your client successfully? Maybe you want to check back and see if they opened the email, and if so, how many times? To do so, navigate to the 'Email Lists' tab to view each email sent for that event and its performance.
