
We've outlined the general steps for you below, but please note there are a few different ways you might choose to set up your zap.
Note: This is not retroactive and will only apply to events you created after implementing this Zap.
Trigger
- First, click the Make a Zap button.
- In the search bar, type in Details Flowers and select it as your trigger app.
- Click Updated Event and then Save + Continue.
- If you have not already connected your Details account, click the Connect an Account button and follow the prompts. Otherwise, it will pull up your Details account - click Save + Continue.
Here on the Edit Options step of setting up your trigger is where you get to customize this Zap to your specific need. You'll need to decide what causes Zapier to create a new invoice in QuickBooks, and it's primarily driven by two things: state and status.
Since this is where you'll customize your Zap, this is also where things become pretty open-ended. To help you understand how this will work, we'll go through an example of one of the many ways you can set this particular Zap up.
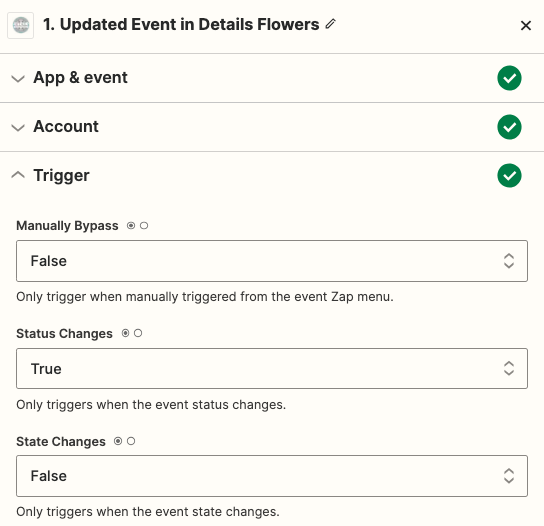
- For the Manually Bypass option, keep it as No - Special Note: If you would like to manually trigger this, select Yes, but keep in mind that it will trigger ALL manual Zaps!
- For the Status Changes option, select Yes
- Click the Continue.
- A sample will be pulled in from Details and automatically selected. Click Continue to complete the trigger portion of this Zap.
Adding a Filter Step
In the next step, you will need to add in a 'Filter By Zapier' action
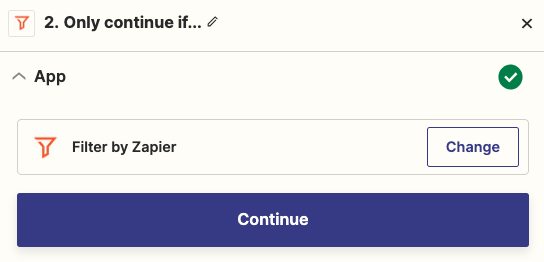
Next, hit the 'Continue' button. From there, you will fill in the associated information for the filter:
Only continue if
- Event Status - chose this from the first drop-down menu
- (Text) Exactly Matches - chose this from the second drop-down
- In the third field, you will type in 'Proposal-Signed'
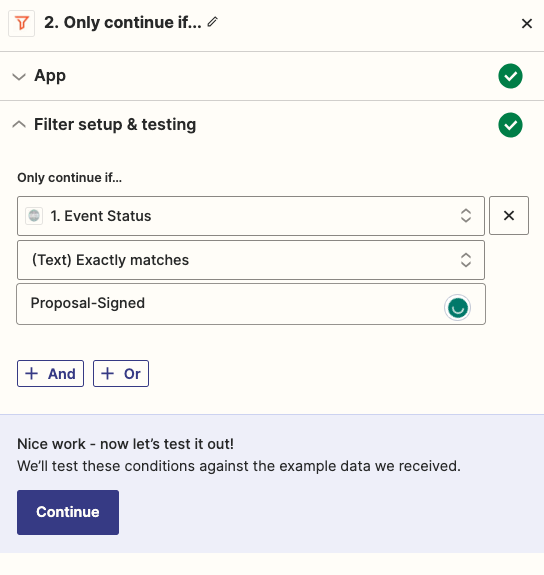
Make sure to test this step!
Adding a Search Step
For Details Flowers to add a new invoice to QuickBooks, it will need to attach it to an existing customer or create a new one. This is where the search step comes in handy.
- First, we need to add the Action Step. Click to add.
- Select QuickBooks Online as the Action App.
- To find our action, look under the Search section. Click Find Customer.
- Click Save + Continue
- On the next page, you'll be asked to confirm the connected account. If you've not yet connected your account, click the Connect an Account button.
- Click Save + Continue.
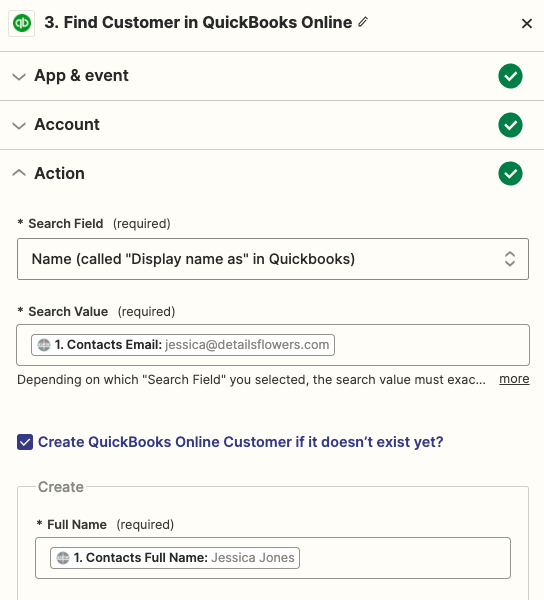
- Next, in the Search Field drop-down, keep it on Email.
- In the Search Value drop-down, select Event Contacts Email
- Click the checkbox to create a QuickBooks Online Customer if it doesn't exist yet. This will add the customer to QuickBooks for you!
- In the new area, select the items you would like to pull from Details to create your QuickBooks customer. We suggest Full Name, Email, Phone, and Address.
- Click Continue to send a test to QuickBooks. If successful, you should see the client in your QuickBooks account.
Action
- Finally, you will need to outline the invoice you would like created. Click to add another Action Step.
- Once again, select QuickBooks as your Action App. Click Continue.
- From the available options, click Create Invoice.
- By now, you should have already connected your QuickBooks account. Click Continue.
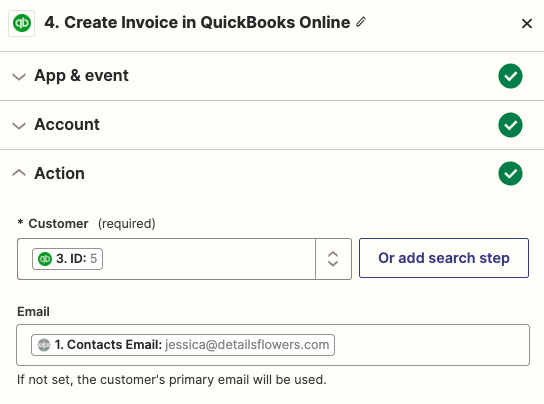
- Now it is time to set up the invoice. Under the Customer section, select Use a Custom Value.
- Next, select ID for the Custom Value for Customer ID
- For Email, find and select the contact's email.
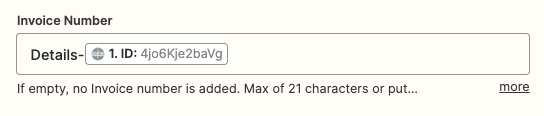
- Under Invoice Number type in Details- Next, select Updated Event from the drop-down and select ID. This will follow the text you wrote in and will serve as a way for Details and Quickbooks to communicate.
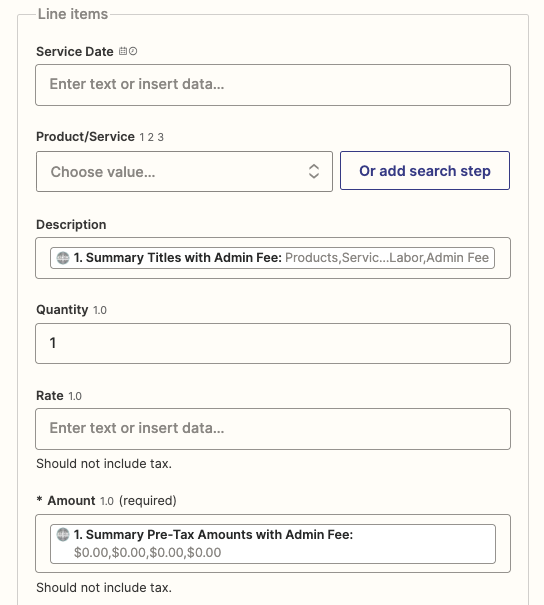
- Under the Line Items section, go to Description.
- Find and select Summary Titles with Admin Fee. If you do not use the Admin fee, you may use the option without.
- Finally, in the Amount section, select the matching totals. In this case, we used Pre-Tax Amounts with Admin Fee
- Review the rest of the options and fill in as you see fit. We opted to leave them blank.
- Once complete, click Finish and name your Zap.
Check out the template we have created for this Zap to help get you started!!